Guide
Server Mall
From Dogcraft Wiki
Darparniox (talk | contribs) (temp notice) Tag: Visual edit |
m (removing economy notice) |
||
| (22 intermediate revisions by 5 users not shown) | |||
| Line 1: | Line 1: | ||
'' | {{WIP}} | ||
''For previous Mall builds, see: [[Mall]]'' | |||
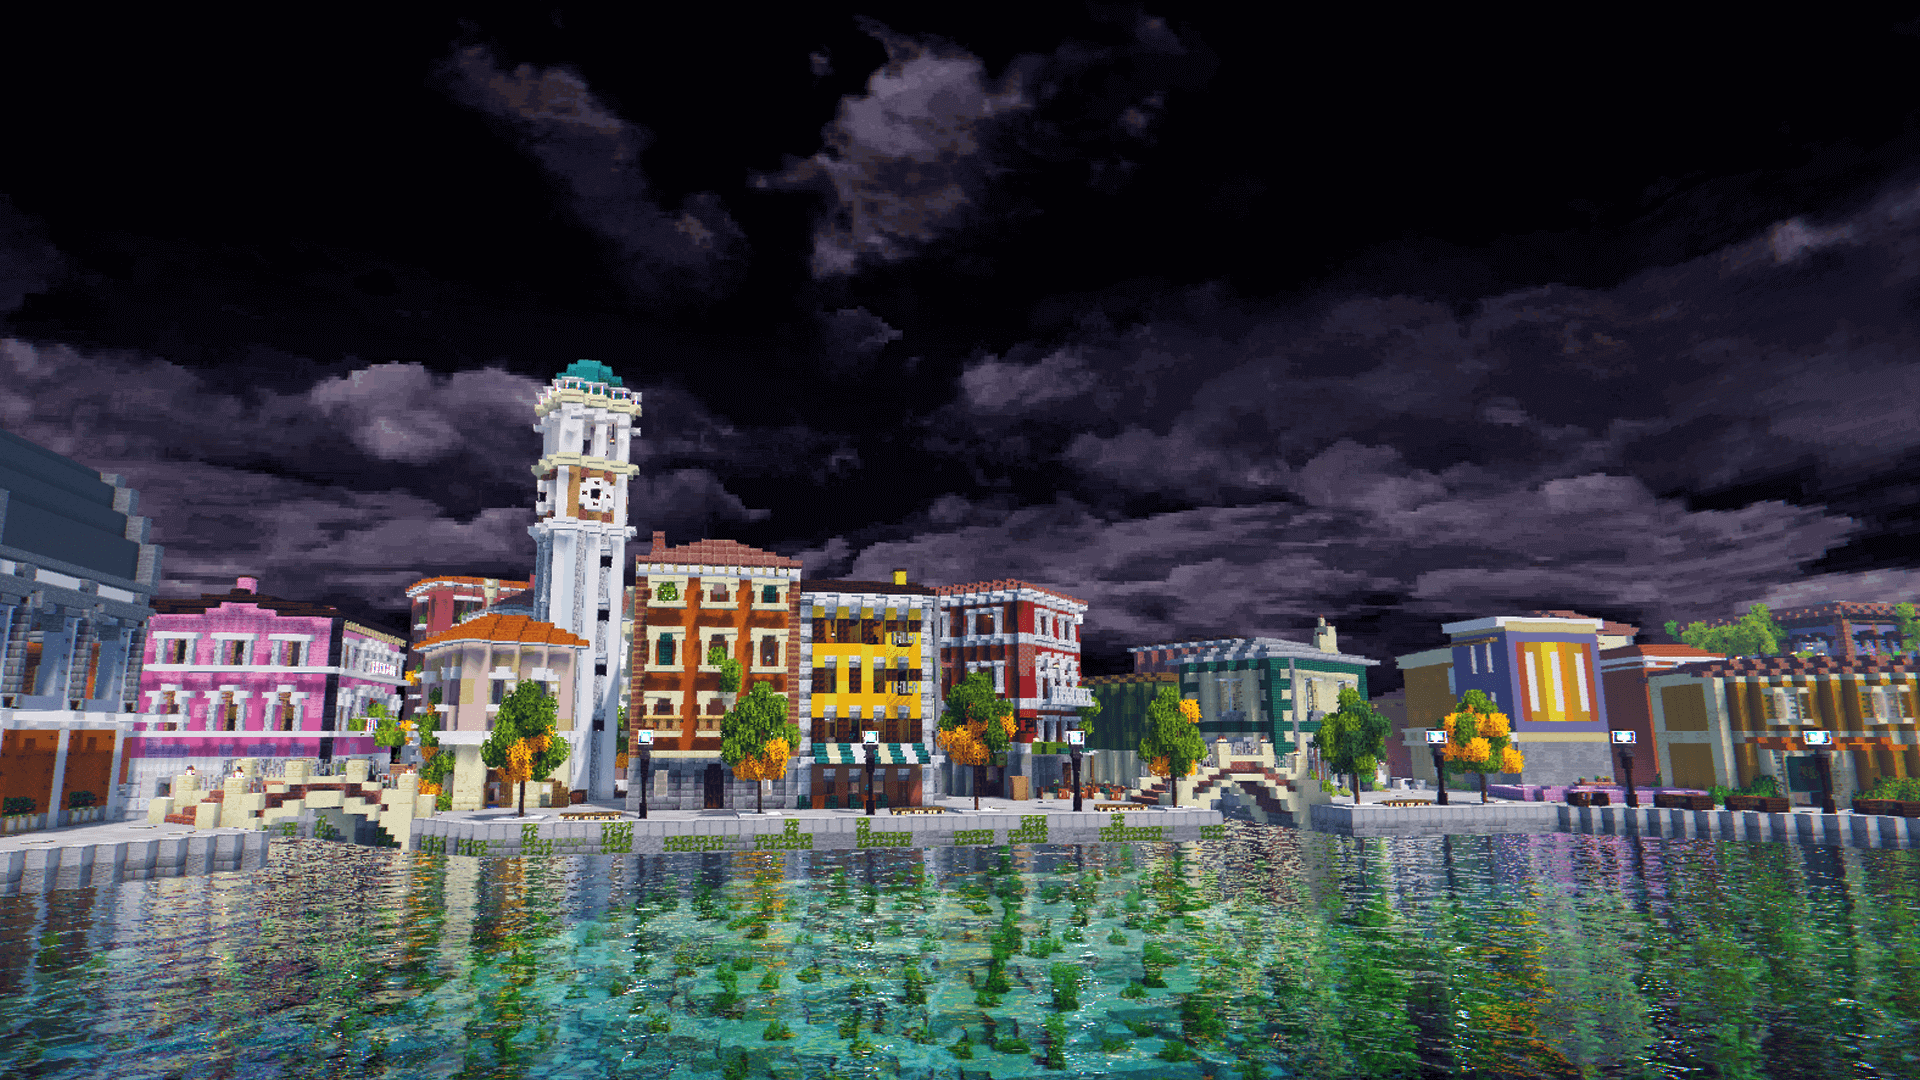
' | The [[Survival 5]] Mall opened on 2022 June 20<sup>th</sup> along with the server's [[DCD#Economy_3.0|Economy 3.0]] update. | ||
==Shops== | |||
{{From page|Guide:Shops}} | |||
<br> | |||
<br | |||
[[Category:Server Information]] | [[Category:Server Information]] | ||
{{Navbox ServerInfo}} | |||
Latest revision as of 18:37, 18 July 2022
For previous Mall builds, see: Mall
The Survival 5 Mall opened on 2022 June 20th along with the server's Economy 3.0 update.
Shops
Player Shops on the Dogcraft Server are a way of buying and selling goods in exchange for Dogcraft Dollars (DCD). They take the form of chests in-game with the item being bought or sold appearing on top. This guide will walk through the process of setting up shops using the Shop plugin used by the server. The plugin also has a tutorial video that can be found here.
Using Shops

To create a chest shop, players will need a chest and a sign. First, place the chest, and then the sign onto the chest or on the block in front of it. The vanilla sign writing interface will appear. Each of the four written line of the sign indicate a certain specification of the resulting shop. As previously mentioned, there are three types of shop that can be created, each has a slightly different creation process.
Sell Shops

Must be formatted as such;
- Top Line: To indicate to the server that this will be a shop, the sign must contain the text
[shop]on the top row.
- Second Line: Type the numerical amount of an item you would like to sell for a certain amount of DCD.
- Third Line: Type the numerical amount of DCD you would like in return for the entry placed on the second line.
- Bottom Line: Type the text
sell, to indicate a sell shop.
Once this is entered onto the sign, press enter. Afterwards, left-click (punch) the sign with the item you would like to sell. At this point, the text on the sign should turn from red to green, and the shop is activated. Remember to stock the shop with the items it is selling.
To purchase from a sell shop, go up to it and right-click the sign itself. There is no confirmation step, so be careful as you will be charged for your purchase. To see a preview of the shop's specifications, right-click the chest itself.
Buy Shops

Must be formatted as such;
- Top Line: To indicate to the server that this will be a shop, the sign must contain the text
[shop]on the top row.
- Second Line: Type the numerical amount of an item you would like to buy for a certain amount of DCD.
- Third Line: Type the numerical amount of DCD you would like to spend for the entry placed on the second line.
- Bottom Line: Type the text
buy, to indicate a buy shop.
Once this is entered onto the sign, press 'Done'. You will exit the sign interface and the text will format and turn red. Afterwards, left-click (punch) the sign with the item you would like to buy. If you do not own the item you would like to buy, punch the chest without an item in your hand. Then, open your inventory using as usual, and you will enter the creative menu. Find and select the item you would like to buy and 'throw' it out of your inventory (an example is featured to the right). At this point, the text on the sign should turn from red to green, and the shop is activated.

To sell to a buy shop, go up to it and right-click the sign itself. Ensure that you have the item the shop is buying in your inventory. The shop will take items from there in increments of the amount the shop buys. To see a preview of the shop's specifications, right-click the chest itself.
Barter Shops

Must be formatted as such;
- Top Line: To indicate to the server that this will be a shop, the sign must contain the text
[shop]on the top row.
- Second Line: Type the numerical amount of an item you are willing to barter away.
- Third Line: Type the numerical amount of a different item you are willing to barter for the entry placed on the second line.
- Bottom Line: Type the text
barter, to indicate a barter shop.
Once this is entered onto the sign, press 'Done'. You will exit the sign interface and the text will format and turn red. Afterwards, left-click (punch) the sign with the item you would like to barter away. Then, left-click (punch) the sign with the item you would like to barter for. If you do not own the item you would like to barter for, punch the chest without an item in your hand. Then, open your inventory using as usual, and you will enter the creative menu. Find and select the item you would like to buy and 'throw' it out of your inventory. At this point, the text on the sign should turn from red to green, and the shop is activated. Remember to stock the shop with the item it is bartering away.
To use a barter shop, go up to it and right-click the sign itself. Ensure that you have the item the shop is bartering for in your inventory. The shop will take items from there in increments of the amount the shop barters for and replace them with the item and amount it barters away. To see a preview of the shop's specifications, right-click the chest itself.
Shop Ownership and Tips
Once the shop has been finalised, you can toggle the item above the chest shop. Using your bare fist and right clicking will toggle between:
- The item
- The item in a frame
- Nothing (shop item appears as text on shop sign instead)
Shops can be made using chests, trapped chests, barrels, or shulker boxes, and double chests can be used in order to double a shop's capacity. To limit the capacity of a shop (particularly for buy shops), put a 'filler' item in each slot that you want blocked. A chest with 26 slots of cobble, for example, will only buy carrots until it has one full stack of carrots. Any other items in the chest shop will not be sold, so you may also put shulkers of your shop item to make restocking the shop more expedient.
You can see extended information about your owned shop by shift-right-clicking the chest itself, similar to what customers do with a simple right click.
Other players will not be able to open or break someone's chest shop irrespective of the claim situation, and it is not possible to allow people to do so with commands. To remove your chest shop, break the sign attached to the chest. The chest will become a vanilla chest once again.
| ||||||||||||||
| ||||||||||||||