Guide
Server Mall
From Dogcraft Wiki
The Dogcraft.net Server features a mall, serving as a staff-built commercial district in which players can build shops on plots to sell or buy Minecraft items in exchange for Dogcraft Dollars. This Mall Guide covers the process of renting and unrenting a mall plot.
The current iteration of the mall on the Survival 3 world can be accessed via the /mall command, or via /warp mall. Alternatively, it is accessible via a Survival Railway Network station on the West Line
The renting system of the mall is arranged through the AreaShop plugin. The chest shops themselves are arranged with QuickShop.

Layout
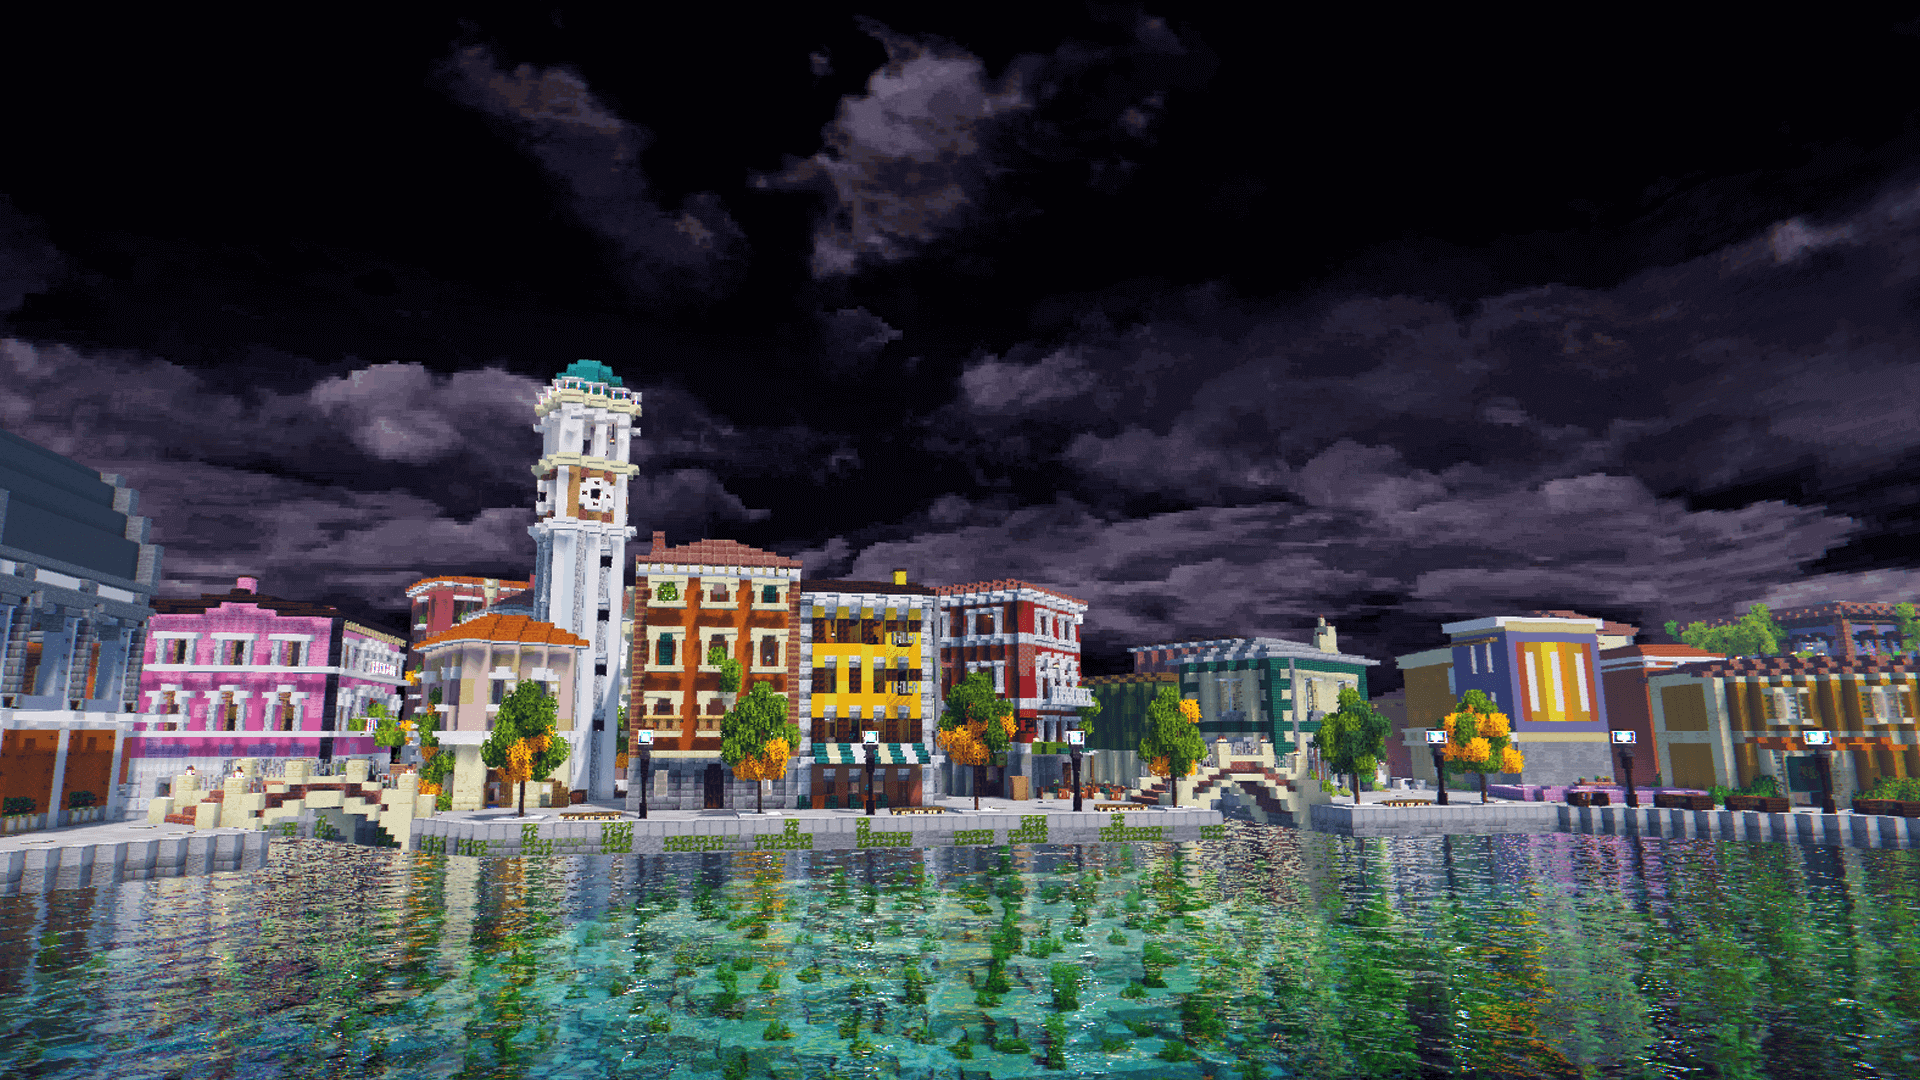
The mall is laid out into eight districts, each of different colors. The mall is built in an ocean such that plots can be built with both above water and underwater sections.
Pathways connect each plot to the center of the mall which is the location of the station and where the warp will take you. The station can be accessed via bubble columns here which you can walk into to be taken up or down to and from the station.
Of the eight districts there are the four larger districts: Green, Yellow, Blue and Orange. These each feature 7 large plots and 20 small plots.The four smaller districts are Black, Gray, Purple and White, each featuring 25 small plots.
At the corners where three color districts meet, are three colored beacon beams that identify those color districts.
Using Plots
This section will guide you in using the AreaShop plugin on Dogcraft. The plugin also offers online documentation of all commands here.
To rent a plot in the mall, one must first find a plot that has not yet been rented. Walking around and looking for one would give you a good sense of what shops are available in the mall already, but there is also a command available to find one more easily: /as find rent.
To rent a plot, you can either right click the sign on the plot, adding 1 month of rent per right click, or use the command /as rent <plot name>. Leaving the plot name unspecified requires you to be standing inside the plot. Both methods can also be used to extend rent on the plot. Large plots costs 2,000 DCD to rent, the smaller plots 1,000 DCD.
The sign next to the plot lists the duration of the remaining rent. Players can also check the remaining time of their own plot with /as me. Once rent expires, the plot gets reset completely to its original state, erasing all of its contents with no reimbursements. As players can only rent 1 plot at a time, wanting to move plots means a player will have to manually unrent their previous plot. To do so, they can use /as unrent <plot name>, or leave the plot name unspecified while standing inside their plot. This too, will erase the contents of the plot, so be sure to empty it before unrenting. Remaining rent on the plot will not be reimbursed.
Once rented, players can build on their own plot. Players can not build on other people's plots, open chests or interact with blocks such as doors or buttons. To allow people to do all of those things, players can use /as addfriend <player name>. To remove this permission for a player, one can use /as delfriend <player name>. To check on whose plots you have permissions, you can use /as me.
To get to your plot quicker, you can use /as tp <plot name>. This form of teleportation is instant, sometimes unintentionally providing a "cop-out" when a player is in a lethal situation. The command can only teleport you to solid blocks, and if the plot is not built on (fully made up of water), it will not work. To set the teleportation spot to a specific block, you can use /as settp while standing on the block.
Using Shops
This section will guide you in using the QuickShop plugin on Dogcraft. The plugin also offers online documentation here.
To create a chest shop, players should place a chest or trapped chest, and then left click that chest while crouching, holding the item they want to sell. To complete the chest shop creation, a price for 1 item must be entered in chat with /n <price>. This will create the shop, after which the creator can stock it. A sign will automatically be generated on the chest (which you don't get as an item if broken), providing information on the owner, stock, item and price of that chest shop.
Other players will not be able to open someone's chest shop, and it is not possible to allow people to with commands. To remove your chest shop, you can either break the chest, or right click the automatically generated sign and click [Remove Shop]. Normally the plugin allows changing price with /qs price <new price>, but due to how permissions are set up this is not possible on Dogcraft.
Creating a chest shop will default the chest to Selling Mode, which is what most shops in the mall are set to. However, it's also possible to have a chest shop buy items from players. To do so, you must select the created chest shop by left clicking, and use /qs buy and /qs sell to switch between modes. Alternatively, you can rightclick the automatically generated sign and click the [Switch] option.
To buy from a chest shop (or sell an item to a buy shop), you can left click the chest or the sign and use /n <amount> in chat, where 'amount' is the amount of items you want to buy. Left clicking the shop also brings up more information on the shop, and allows you to click [Preview Item] to see the item itself, which may be helpful for enchanted items or mob heads. Lastly, you can use /qs find <item> to find chest shops with a certain item in the area near you.